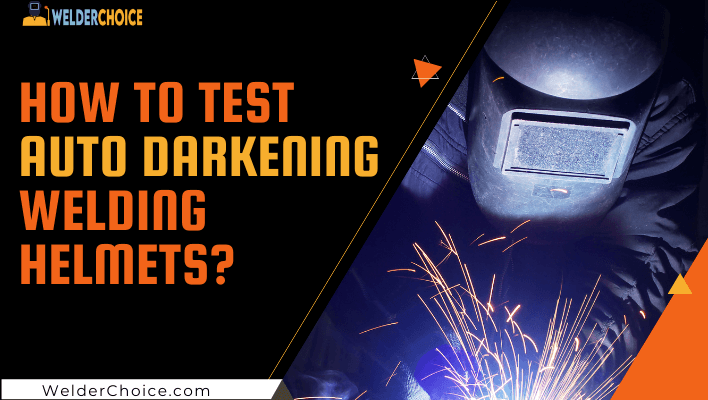
Consequently, it’s critical to understand how to test your auto-darkening welding helmet.
There are numerous ways to determine whether a welding helmet is functional. Your vision and your health could be gravely harmed if your helmet isn’t working properly. Both before and after the procedure, precautions should be taken.
You can wear a variety of helmets depending on the type of welding project you’re working on. Replacement lenses are widespread, but it’s important to be sure they’re safe and that you can protect yourself from light, sparks, and severe heat!
Welding is a tremendously risky operation, regardless of its objective. Welding produces a lot of heat, which emits harmful UV light, so test the helmets before welding.
Continue reading to find out How to test auto darkening welding helmet?
How to Test Auto-Darkening Welding Helmet
The two most common types of helmets are passive welding helmets and auto-darkening helmets.
The light released during a weld causes an auto-darkening welding helmet to lighten or darken. An auto-darkening welding helmet is programmed to lighten or darken dependent on the light emitted during a weld, whereas a passive welding helmet is manual and requires lens adjustments.
Both types of helmets offer enough shielding against harmful light and heat. However, depending on your helmet, the tests to see if it’s working would range dramatically.
Testing Your Helmet: A Step-by-Step Guide
To put an auto-darkening welding helmet to the test, follow these seven simple steps.
Step 1: Auto-Darkening Filter Test
ADF helps to protect your eyes from injury by optimizing the use of the welding helmet. For optimum protection, it automatically adjusts the shades to decrease the amount of light that passes through the lens.
Step 2: Lens Test
The switching speed, also known as the lens reaction time, when it takes the lens to darken. Even though some helmets may take a little longer, any auto-darkening welding helmet should have a reaction time of 1/2500ths of a second.
A delayed reaction time increases your risk of getting hurt by sparks that are too strong for the helmet to handle quickly enough. Using several test techniques and putting on the helmet is as easy as it gets. Ascertain that changes in light intensity or area size do not affect the lenses’ reaction time.
Step 3: Sensitivity and Delay Control Test
Arc sensors control the varied hues within the auto-darkening helmet. Test to see whether you can adjust the delay and sensitivity on your helmet because these are the two most significant settings for any auto-darkening helmet.
After you’ve located them, experiment with the parameters while keeping a watch on any changes. Confirm if the helmet adjusts well enough to ensure its functionality, as helmets might react to little changes.
Furthermore, most auto-darkening welding helmets have a delay feature that prevents you from being flashed. Examine whether this feature keeps the lens dark.
Step 4: Safety Test
To guarantee that each welder is protected and safe from welding-related events or injuries, all auto-darkening helmets must meet all safety regulations. The ANSI Z87.1 standards must be met by all auto-darkening welding helmets. You can find out by asking your merchant or checking up the certification information online.
A good auto-darkening helmet must have the following qualities and properties.
• Infrared filter
• UV and infrared protection
• Temperature range of 23 to 130°F
• Impact resistance
Step 5: Clarity Test
It is impossible to test the optical clarity of an auto-darkening welding helmet. Examine the helmet’s clarity to see whether it fulfills your expectations. This is likely the most accessible test because it involves wearing the helmet and viewing the lens to check for clarity. If you want to hit an arc, you’ll be able to get a better confirmation of the helmet’s clarity.
Step 6: Power Test
Solar panels and lithium batteries are routinely used to power auto-darkening welding helmets. In certain helmets, replaceable batteries are used, whereas, in others, they are not. Others use solar energy in combination with a battery.
Ensure you have a warranty card when you buy the helmet because it’s tough to check for battery concerns. Walk outside when the solar panel detects daylight to see if the solar helmet is charging.
Step 7: Grind Mode Test
Some auto-darkening helmets have grind mode switches or buttons that can be used to activate auto-darkening. Turn the grind mode switch or hit the grind mode button to activate the grind mode. Remember that the auto-darkening shade lens can only work when the grind mode is switched off, so always turn it off before welding.
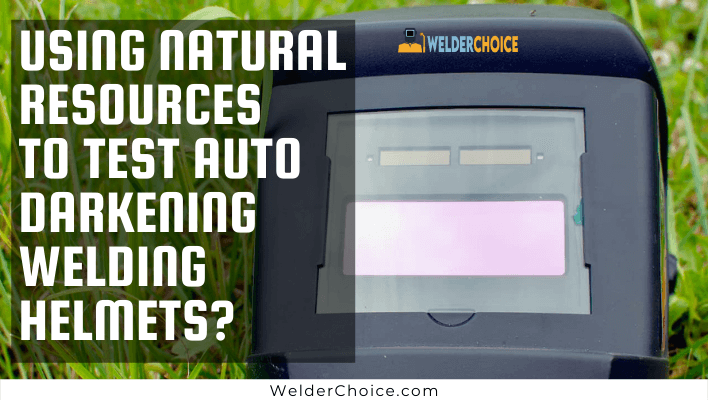
Using Natural Resources to Test an Auto-Darkening Welding Helmet
Let’s look at a few alternative approaches to putting auto-darkening helmets to the test. Because they use natural resources or everyday home objects, these four ways should be the most convenient of all the possibilities.
1: Sun Test
The sun’s rays are great for testing the quality of your auto-darkening helmet. It’s been around for a while and has proven to be trustworthy.
Just put your helmet on and go outside. Stand in the sun for a few minutes with the sensors directly overhead. Concentrate your attention on the lens now to see if any reaction occurs. The darkening of reactive lenses is a clear signal of a well-fitting helmet. Your helmet is most likely malfunctioning if you don’t detect any changes.
2: IR Remote Control Test
The lenses of auto-darkening helmets are coated with UV and IR protection coatings.
Any household item, such as a TV remote, can be used to complete the test. Here’s how to do it with a television remote control.
• Put on the helmet and point the remote straight at it
• Focus the light source on the remote onto the lens of the helmet
• Touch any button on the remote
• Check to see if the helmet turns to dark mode automatically
3: Strike an Arc
Put the helmet to the test by striking an arc and giving it a welder flash. This strategy does not always sit well with everyone because it exposes them to the dangers of welding.
Put on all of your safety gear and go through all necessary steps to ensure your safety during the test. Put on your auto-darkening welding helmet and use the provided welding tools to create an arc. Examine the lens’ reaction to see if it’s working. Because you’ll be wearing your helmet, striking an arc is the best way to put it to the test.
4: Cigarette Lighter Test
The usage of a cigarette lighter is a wild idea, but it works effectively. Light the cigarette lighter and focus the flame onto the auto-darkening sensor on the welding helmet. As a result, the shades should adjust.
Conclusion
Hopefully, the answer to how to test auto darkening welding helmet is cleared now. The methods stated above are valuable considerations for both beginner and professional welders when testing the performance of an auto-darkening welding helmet. Weight and impact resistance are two more factors to consider. However, it’s always a good idea to test an auto-darkening welding helmet and then use it.